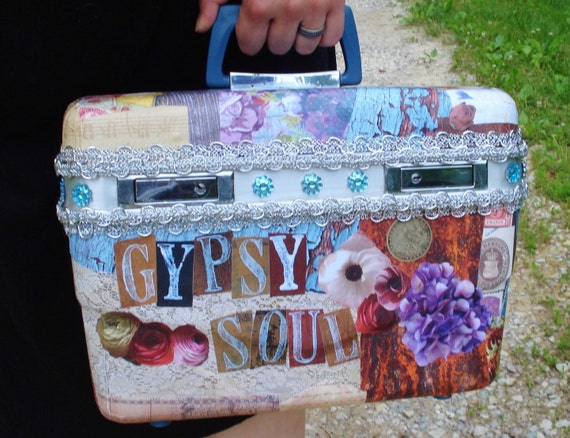
That being said, I have a fascination with the bright, Bohemian colors that are typically associate with all things "Gypsy." Crafts and furniture and clothing with passion because of how the brilliant colors are used. I've had the idea for making this pillow for a while (ever since I bought a truckload of clearance yarn from Joann's several months ago), but it is just now manifesting itself.
During that time, I have learned other methods of crochet - Tunisian, Broomstick Lace, Hairpin Lace...you get the idea. I discovered with this project that Tunisian coupled with a bulky bright tweed yarn produces a singularly delightful result of color and texture.
This "pillow" was originally supposed to be a purse...but in my lack of sleep I hit upon the inspiration to make it into a pillow, resulting in an oh-so-cute piece of eye candy.
Wanna make one? Here's the scoop...
The pattern and photos are copyrighted. You may use this pattern to make pillows, but please give credit either to this site or my Etsy shop (the pattern itself will not be posted on Etsy, but you may use the link https://www.etsy.com/shop/Bohochet.
Materials (assuming you only use one type of yarn):
- 5 oz/ 2 balls/ 200 yds of bulky tweed yarn (the yarn I used was Sensations It's A Wrap Yarn. Comparable yarn would be Lion Brand Tweed Stripes Yarn)
- Size K Tunisian hook (6.5mm)
- 10" x 10" pillow insert (I used Mountain Mist Pillowloft Pillow Form. You don't need this for the actual Pillow Cover)
- Sewology 40mm buttons (purchased at Hobby Lobby, I used item 460246)
- Needle and thread to sew on buttons
1) Using a bulky tweed yarn, and an H hook, ch 35.
2) Switch to an H Tunisian hook. Complete (across and back) 75 rows of afghan stitches. It should be approximately 25" long. This is what mine looks like (Remember there are two colors because this was originally going to be a purse or bag of some sort):
3) Single crochet across the last row of afghan stitches.
4) Test your work on the pillow form. There should about a 2" overlap.
5) Based on the measurement from Step 4, overlap inside out. I wanted the side with the vertical bars on the outside, so the side that looks like purl knitting stitches is on the outside in my example.
6) Slip stitch along both sides but not where it overlaps on the front.
7) Turn right side out.
8) Stuff with pillow form.Strategically attach buttons to front flap. I opted for one button in the center, but it would also look cute with two or three buttons attached. I may add a couple more in the future, but for now I'm happy with one.
I love it!! I hope you do too!! :)


